Experimenting with Acrylic Resin Skins and Cells: First Notes
I’ve started a series of experiments to explore acrylic pouring with cells, using a mix of budget-friendly materials and techniques. These resin skins often end up in some of the handmade pendants available in the shop, so it’s both creative and practical to refine the process.
This blog will serve as a record of the mixtures used, the results achieved, and future ideas to improve consistency—particularly aiming to get a full skin of cells rather than patchy areas.
Common Materials
- Gloss Fluid Medium / Acrylic Additive (e.g. Liquitex Basics): ~£10 for 250ml
- Pouring Paints
- Floetrol, but at £16.35 for 500ml
Many acrylic pouring guides recommend Floetrol, but at £16.35 for 500ml, it’s not the most budget-friendly. Pouring paints are similarly priced to metallic/iridescent Acrylic , but work out more expensive. This is because you use would use 2 -3 times amount in a pour. I’ve been exploring cheaper alternatives that still produce cells and allow for a fluid, workable consistency. Here’s what I used today:
Materials Used
- Silicone Oil: £3.99 for 45ml from Amazon (essential for creating cells)
- PVA Glue: £1.50 for 500ml from Home Bargains
- Standard Acrylic Paints with metallic and iridescent finishes
- A4 Plastic Wallet as a skin base
Method: Resin Skin with DIY Pouring Mix
- Base Coat: Mixed white plain acrylic paint and PVA glue, half and half, and spread across the A4 wallet.
- Colour Mixes: 6 this time, with: 1 part paint to 3 parts PVA glue, a dropper of silicone oil.
- Application: Added all colours on top of the base, then dragged the paint across the surface to spread.
- Result: Cells appeared in some areas beautifully, while others remained flat.
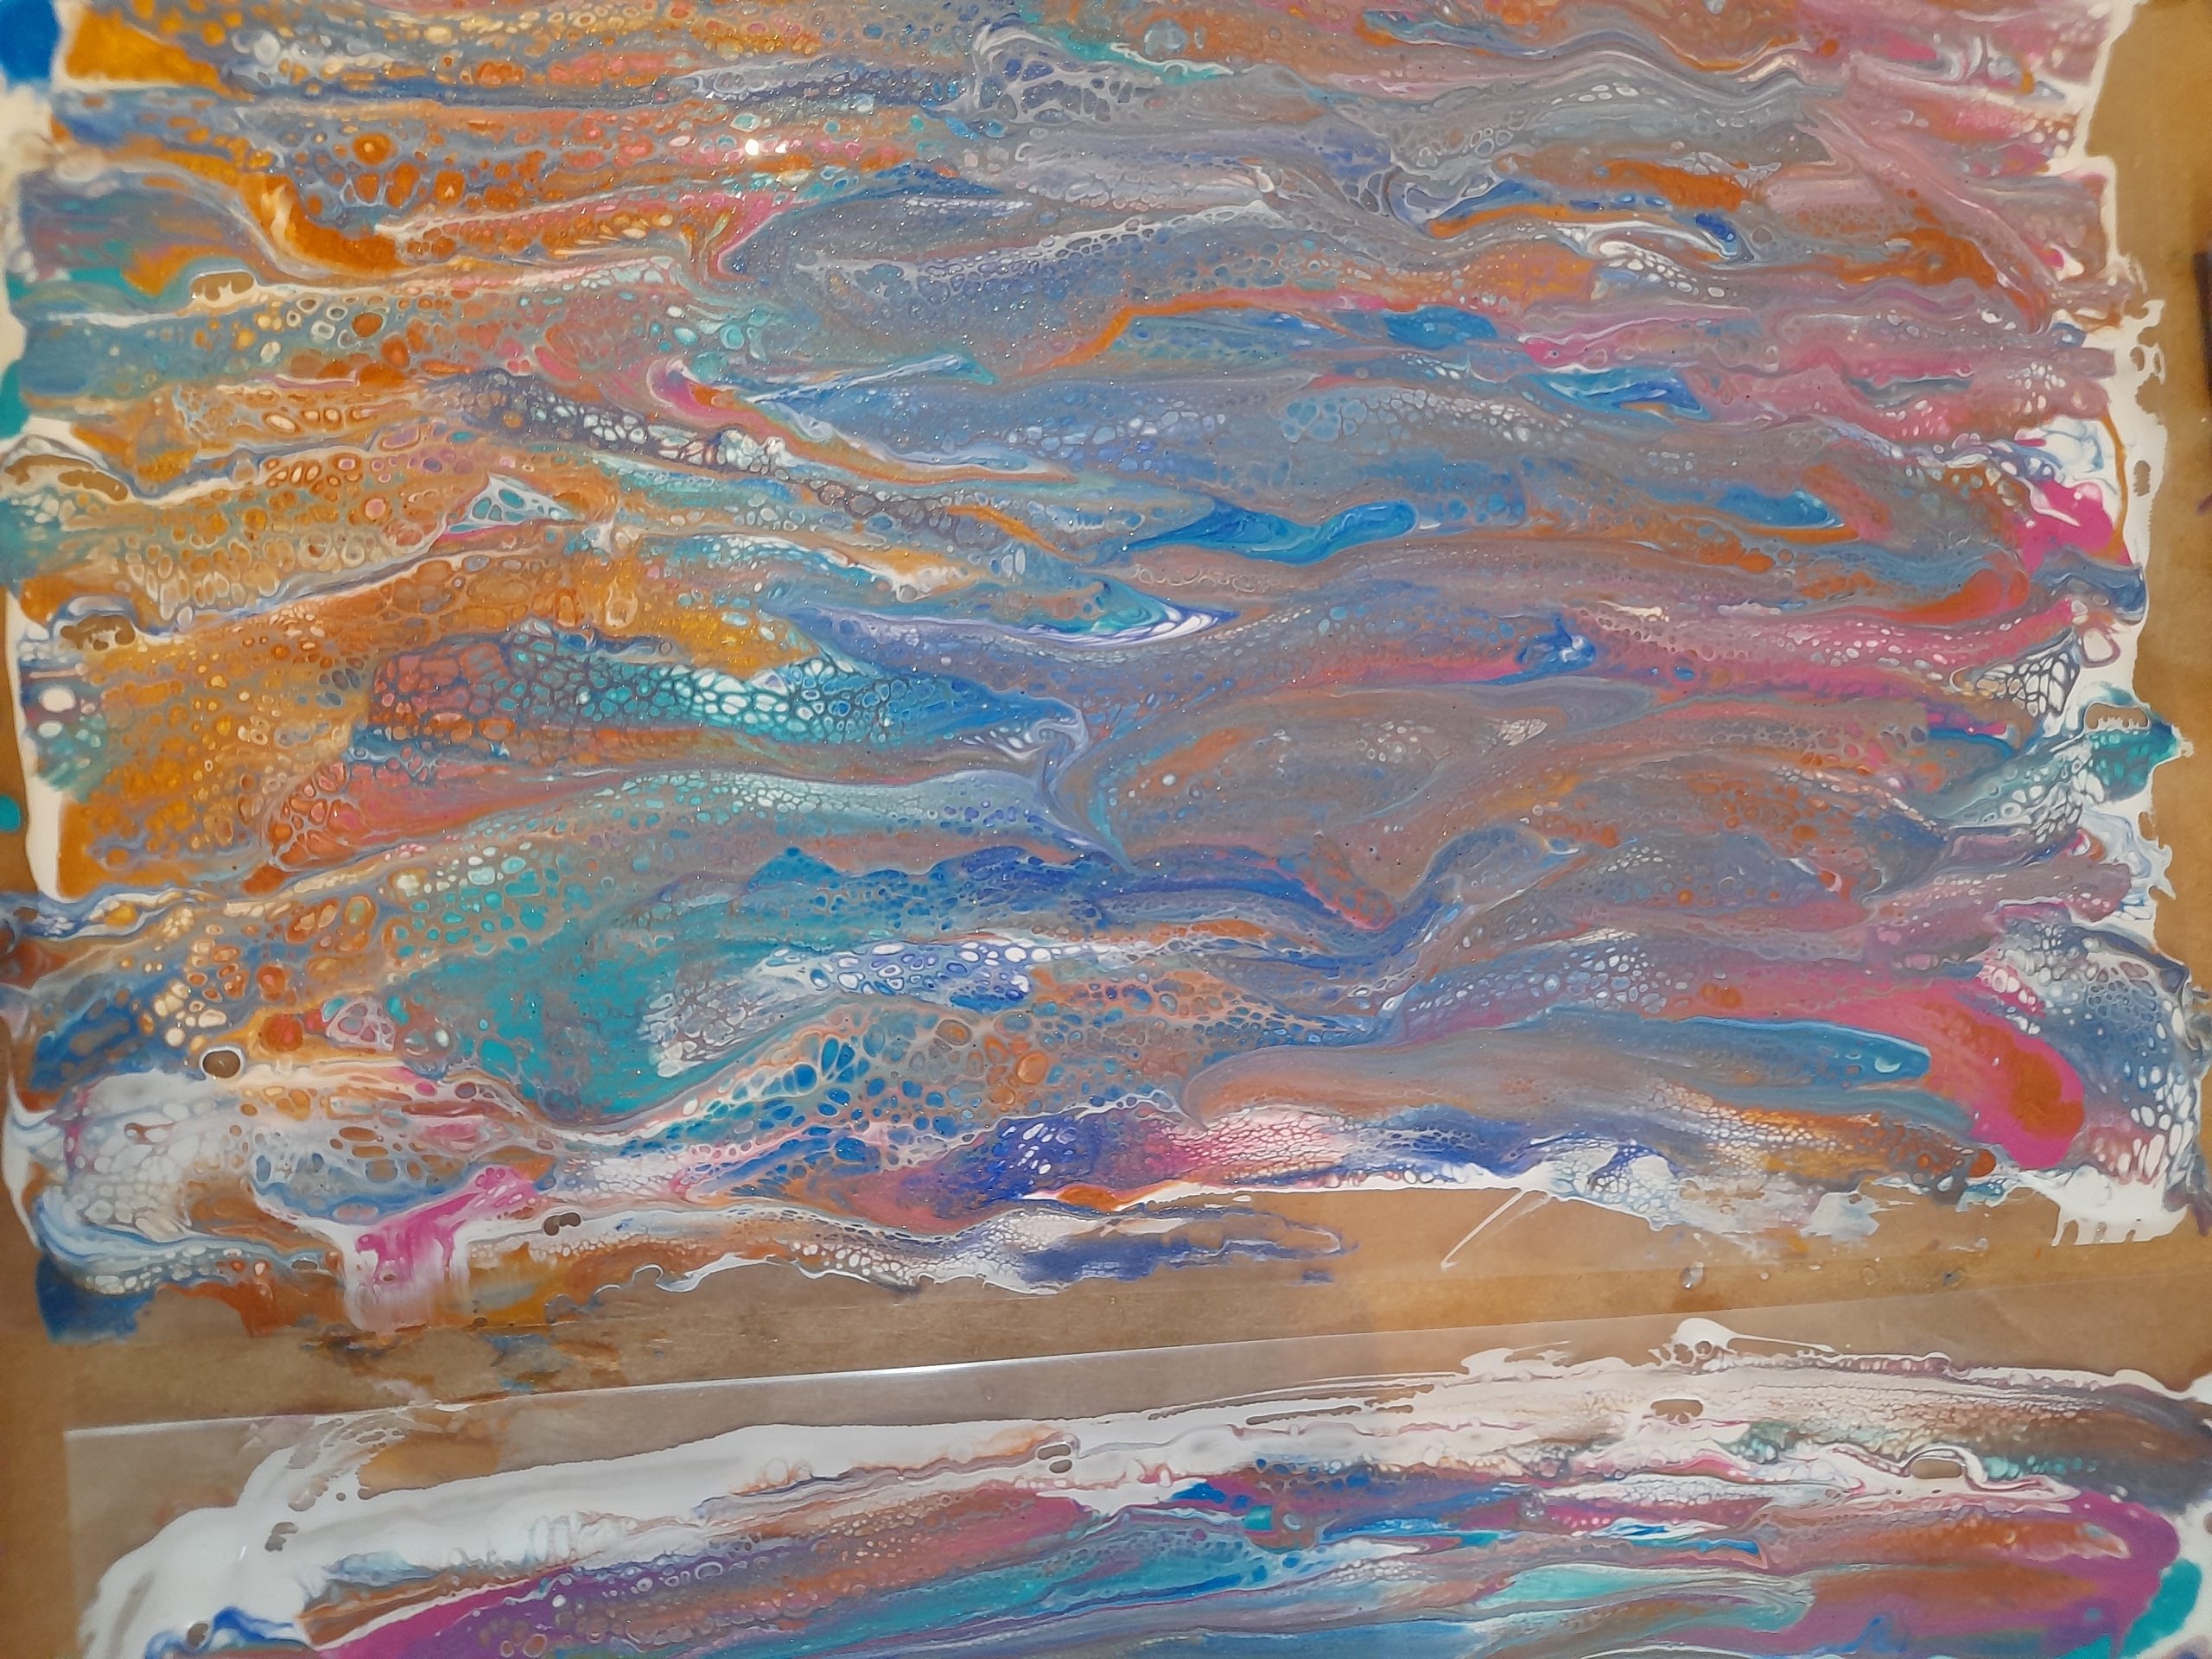
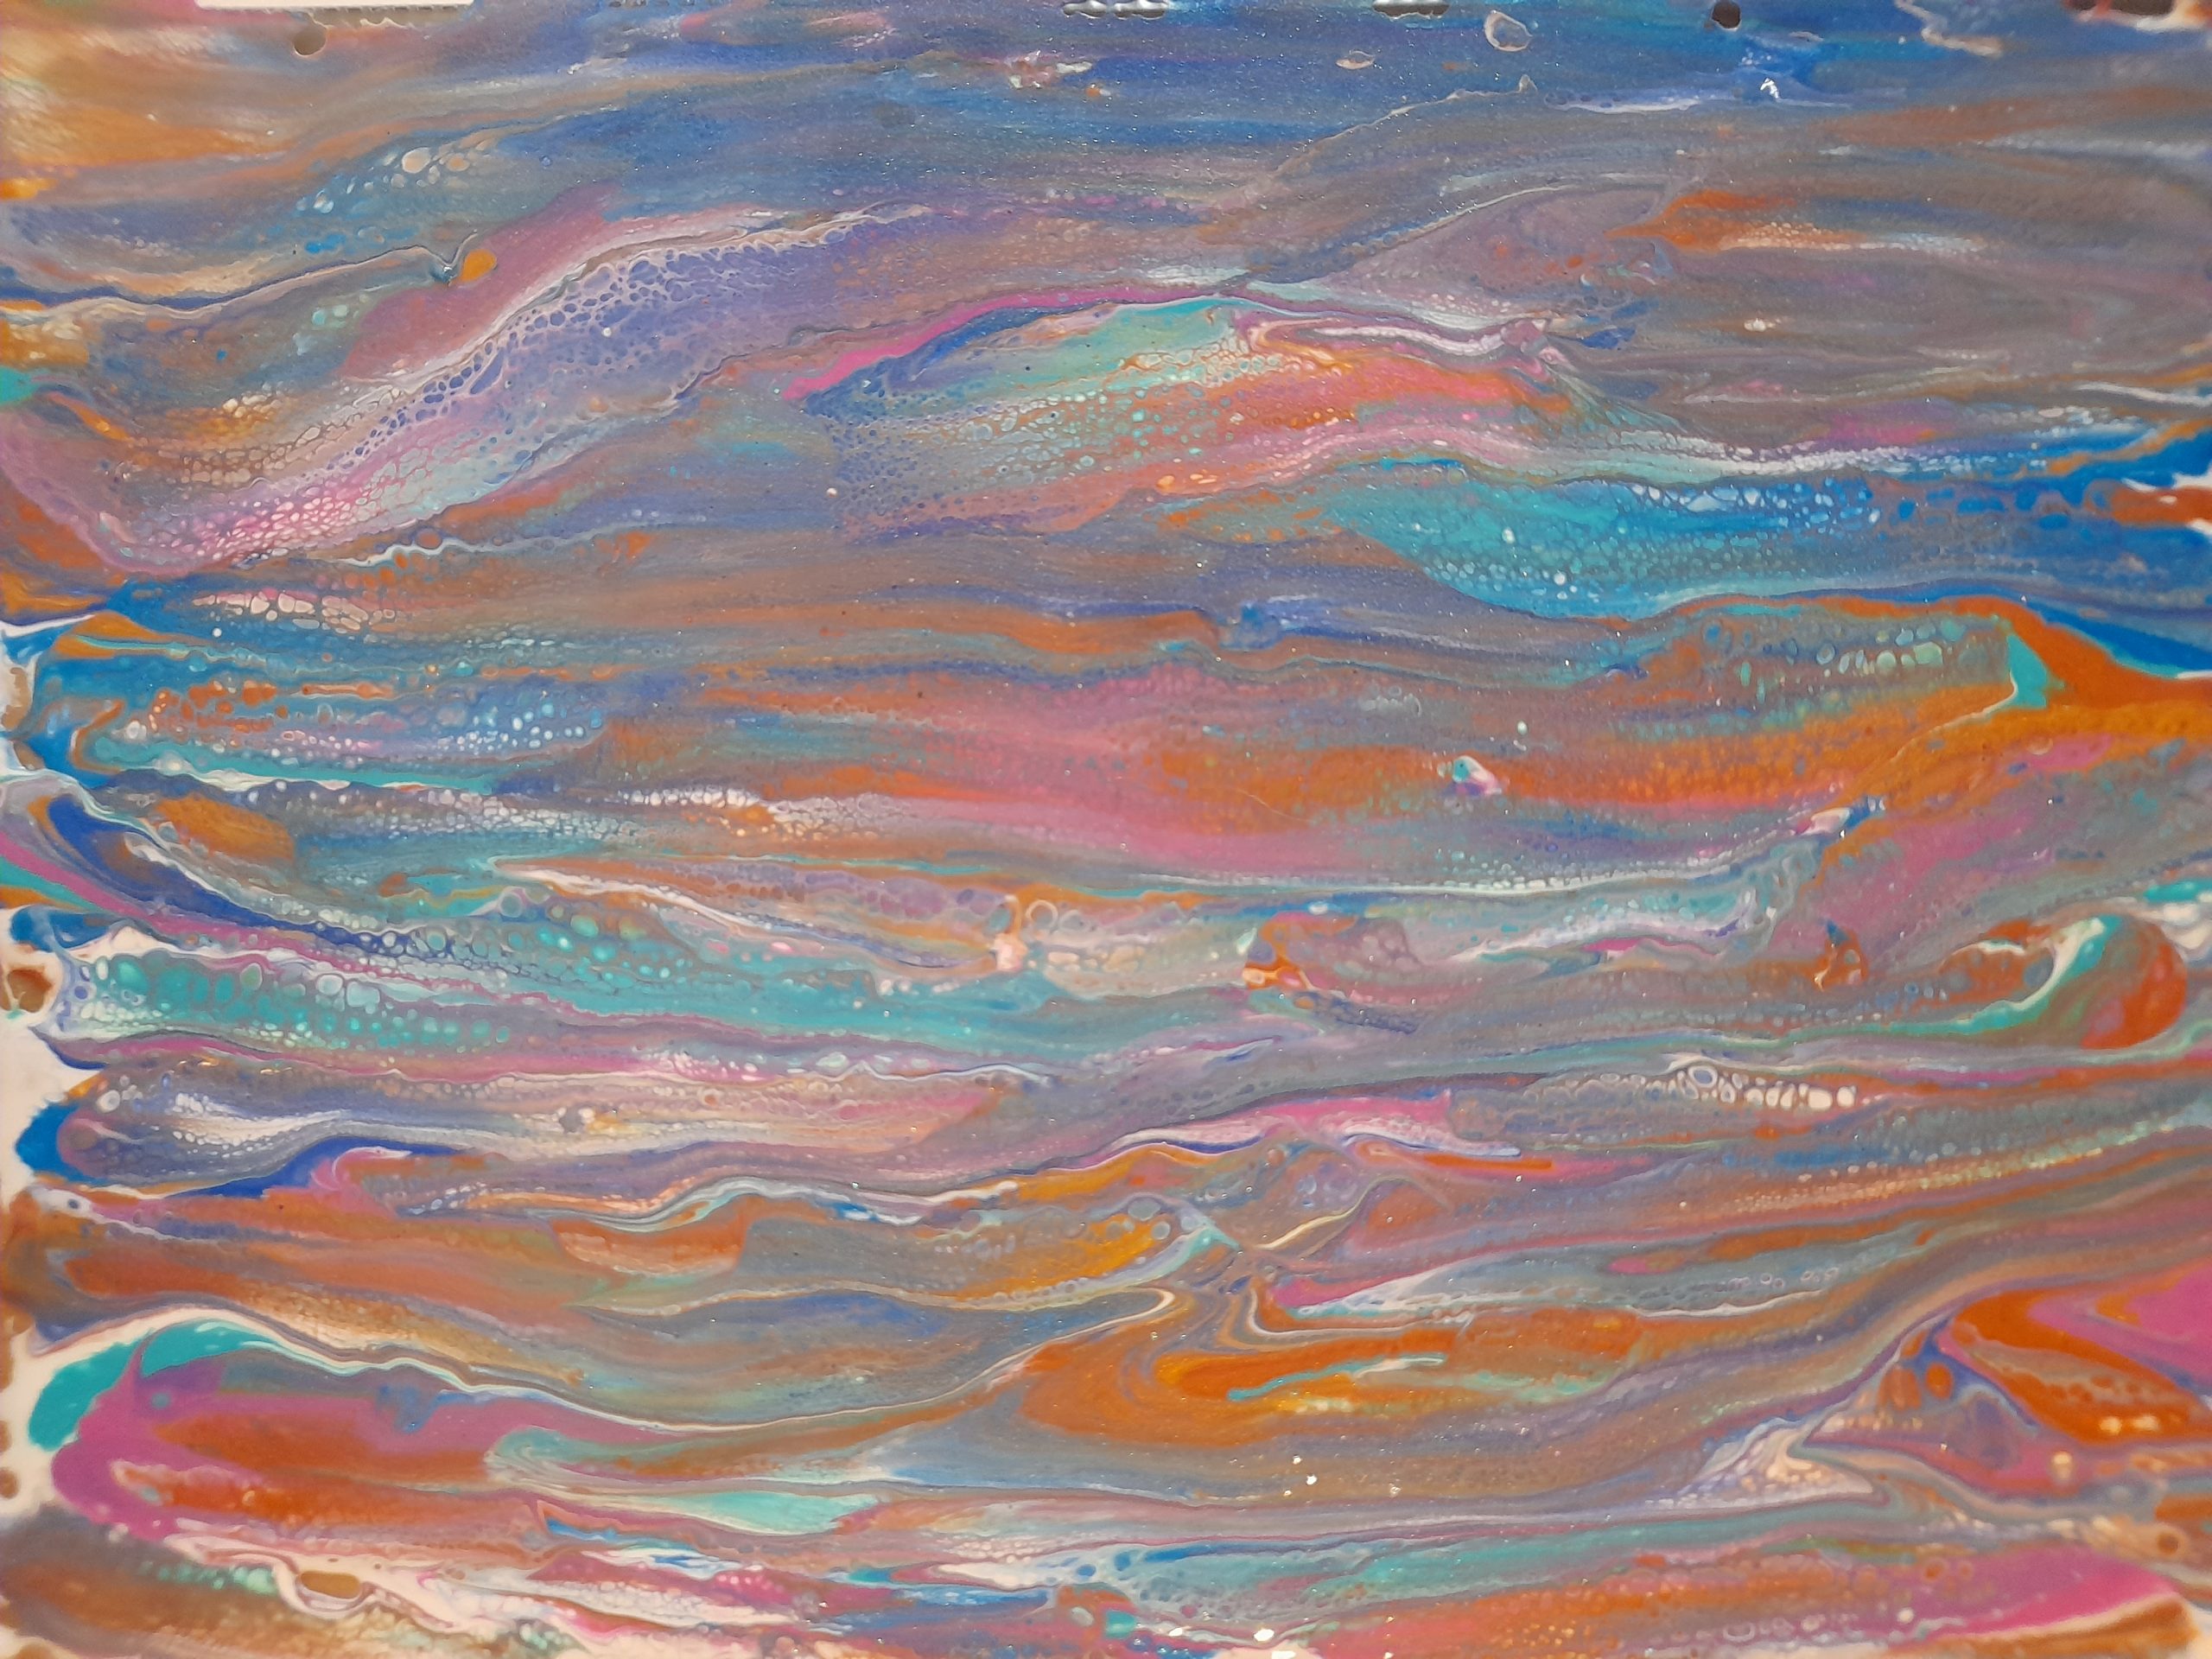
Thoughts & Next Steps
This first round was about playing with proportions and seeing what happens. I didn’t measure precisely, but I now see how important those ratios will be. In the next test, I plan to:
- Record exact measurements
- Adjust paint-to-glue ratios
- Vary the amount of silicone oil
The aim is to create a skin fully covered in cells, ideal for cutting into shapes or embedding into jewellery.
Why Use Resin Skins?
These acrylic resin skins are incredibly versatile. Once dry, they can be cut, layered, or shaped to form stunning patterns inside resin pendants and earrings. Each one is unique—and the organic look of cells adds texture and depth.
I love making these acrylic skins, and it’s even more satisfying knowing they become part of my jewellery designs. This is just the beginning of the journey—I’ll be posting updates regularly as I experiment with more UK-friendly, low-cost alternatives and improve the consistency of results.
If you’re interested in using your own skins in creative projects or want to see the final pieces, take a look at the Resin Jewellery section in the shop.